How to Remove Scratches
Step-by-Step Guide: How to Remove Scratches from Your Vehicle
Introduction
Scratches on your vehicle can be an eyesore, but with the right knowledge and techniques, you can restore its appearance and protect its value. In this step-by-step guide, we will walk you through the process of removing scratches from your car. By following these simple instructions, you can achieve impressive results and make your vehicle look as good as new.
Step 1: Gather the Necessary Tools and Materials
Before you begin the scratch removal process, gather the following tools and materials:
- Microfiber cloths
- Scratch removal compound or polishing compound
- Applicator pad or foam pad
- Water spray bottle
- Car wax or sealant
- Rubbing alcohol
- Masking tape
Step 2: Prepare the Surface
Thoroughly clean the scratched area and its surroundings using a mild car wash soap and water. Rinse off any soap residue and dry the area completely with a microfiber cloth. This step ensures a clean surface for effective scratch removal.
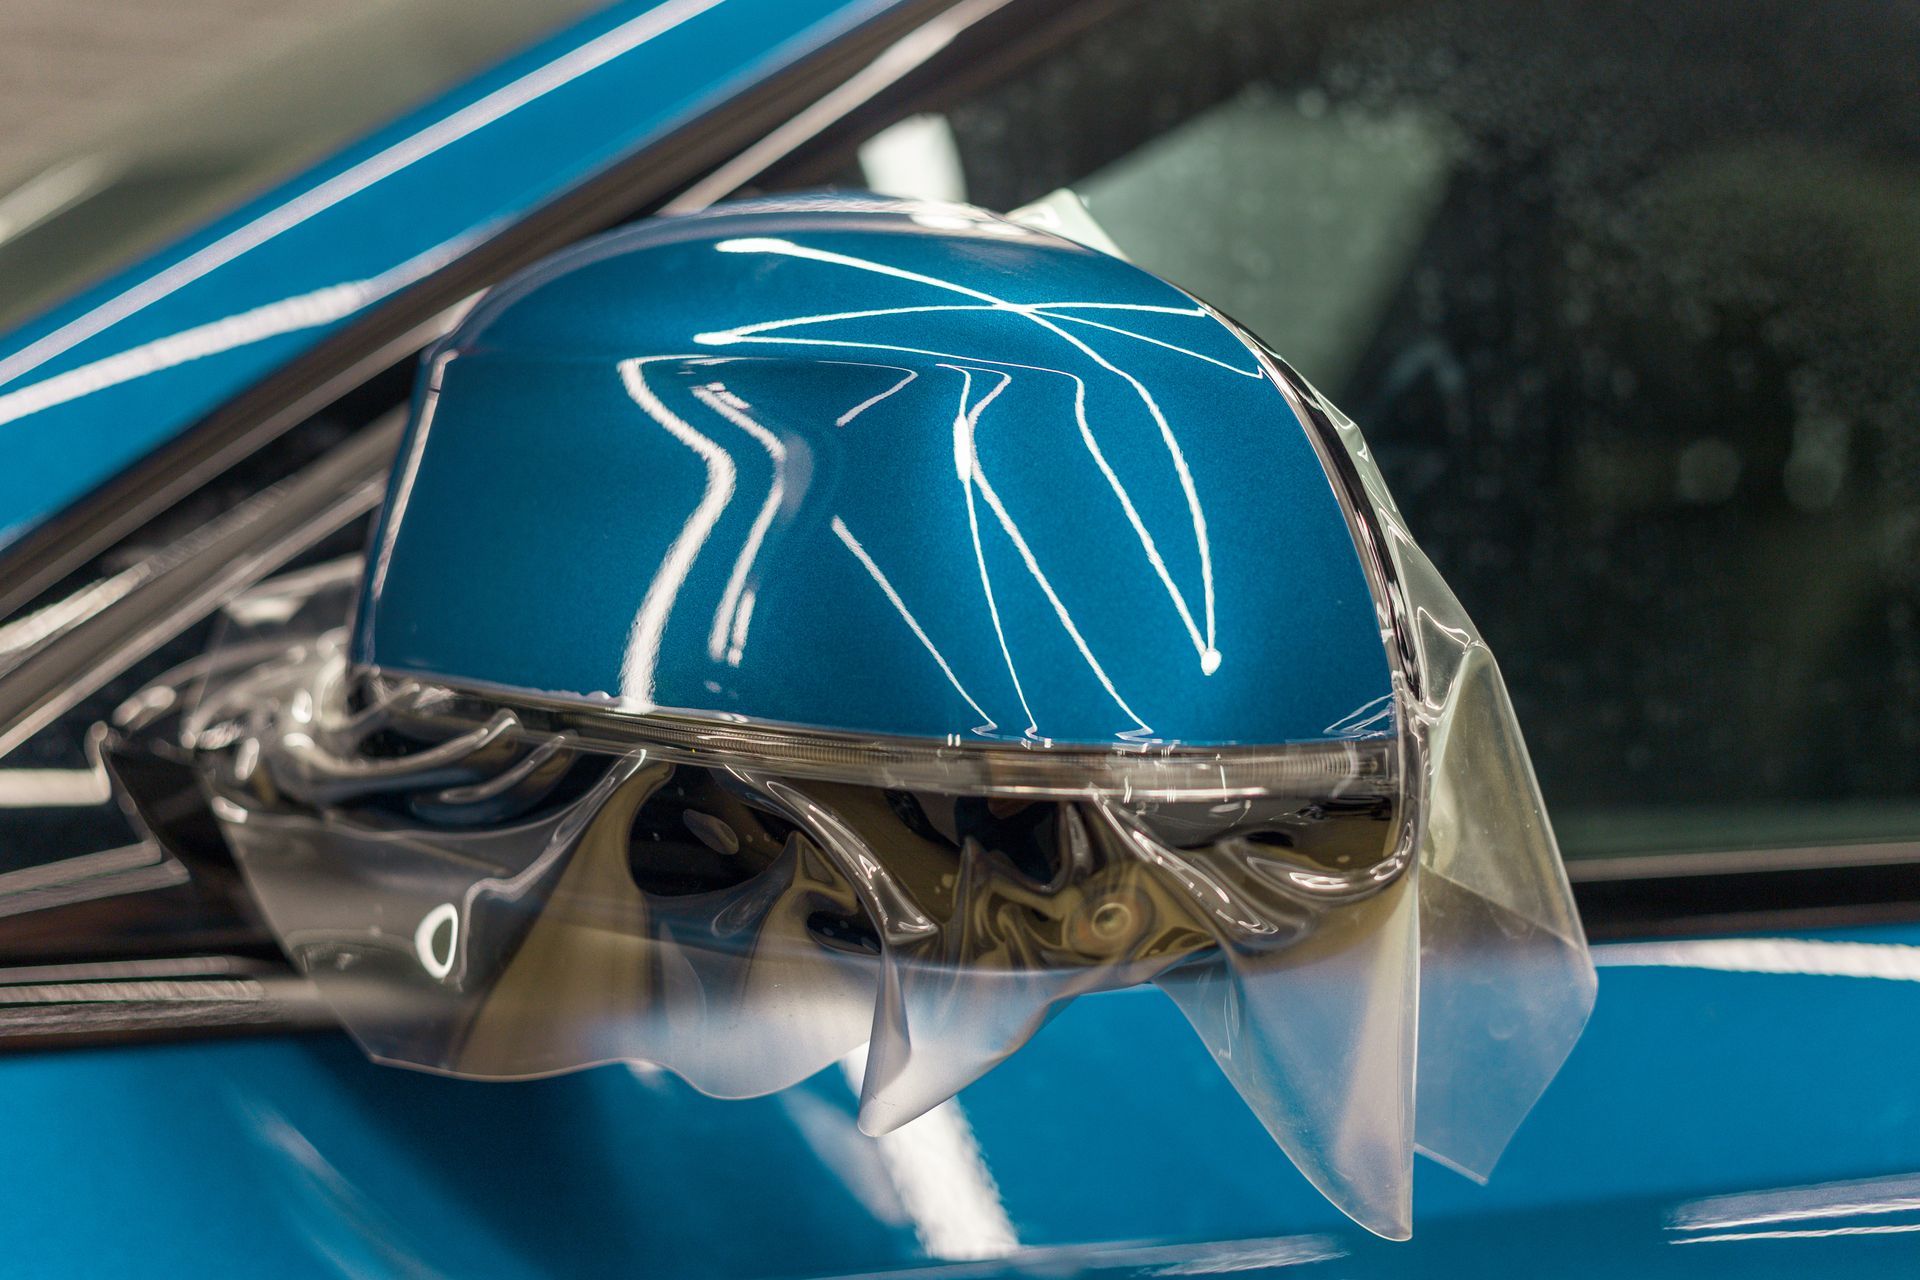
Step 3: Assess the Scratch Depth
Carefully examine the scratch to determine its depth. If the scratch has only affected the clear coat layer, it is a surface-level scratch and can be easily repaired. However, if the scratch has penetrated through the paint layer, it may require more advanced techniques or professional assistance.
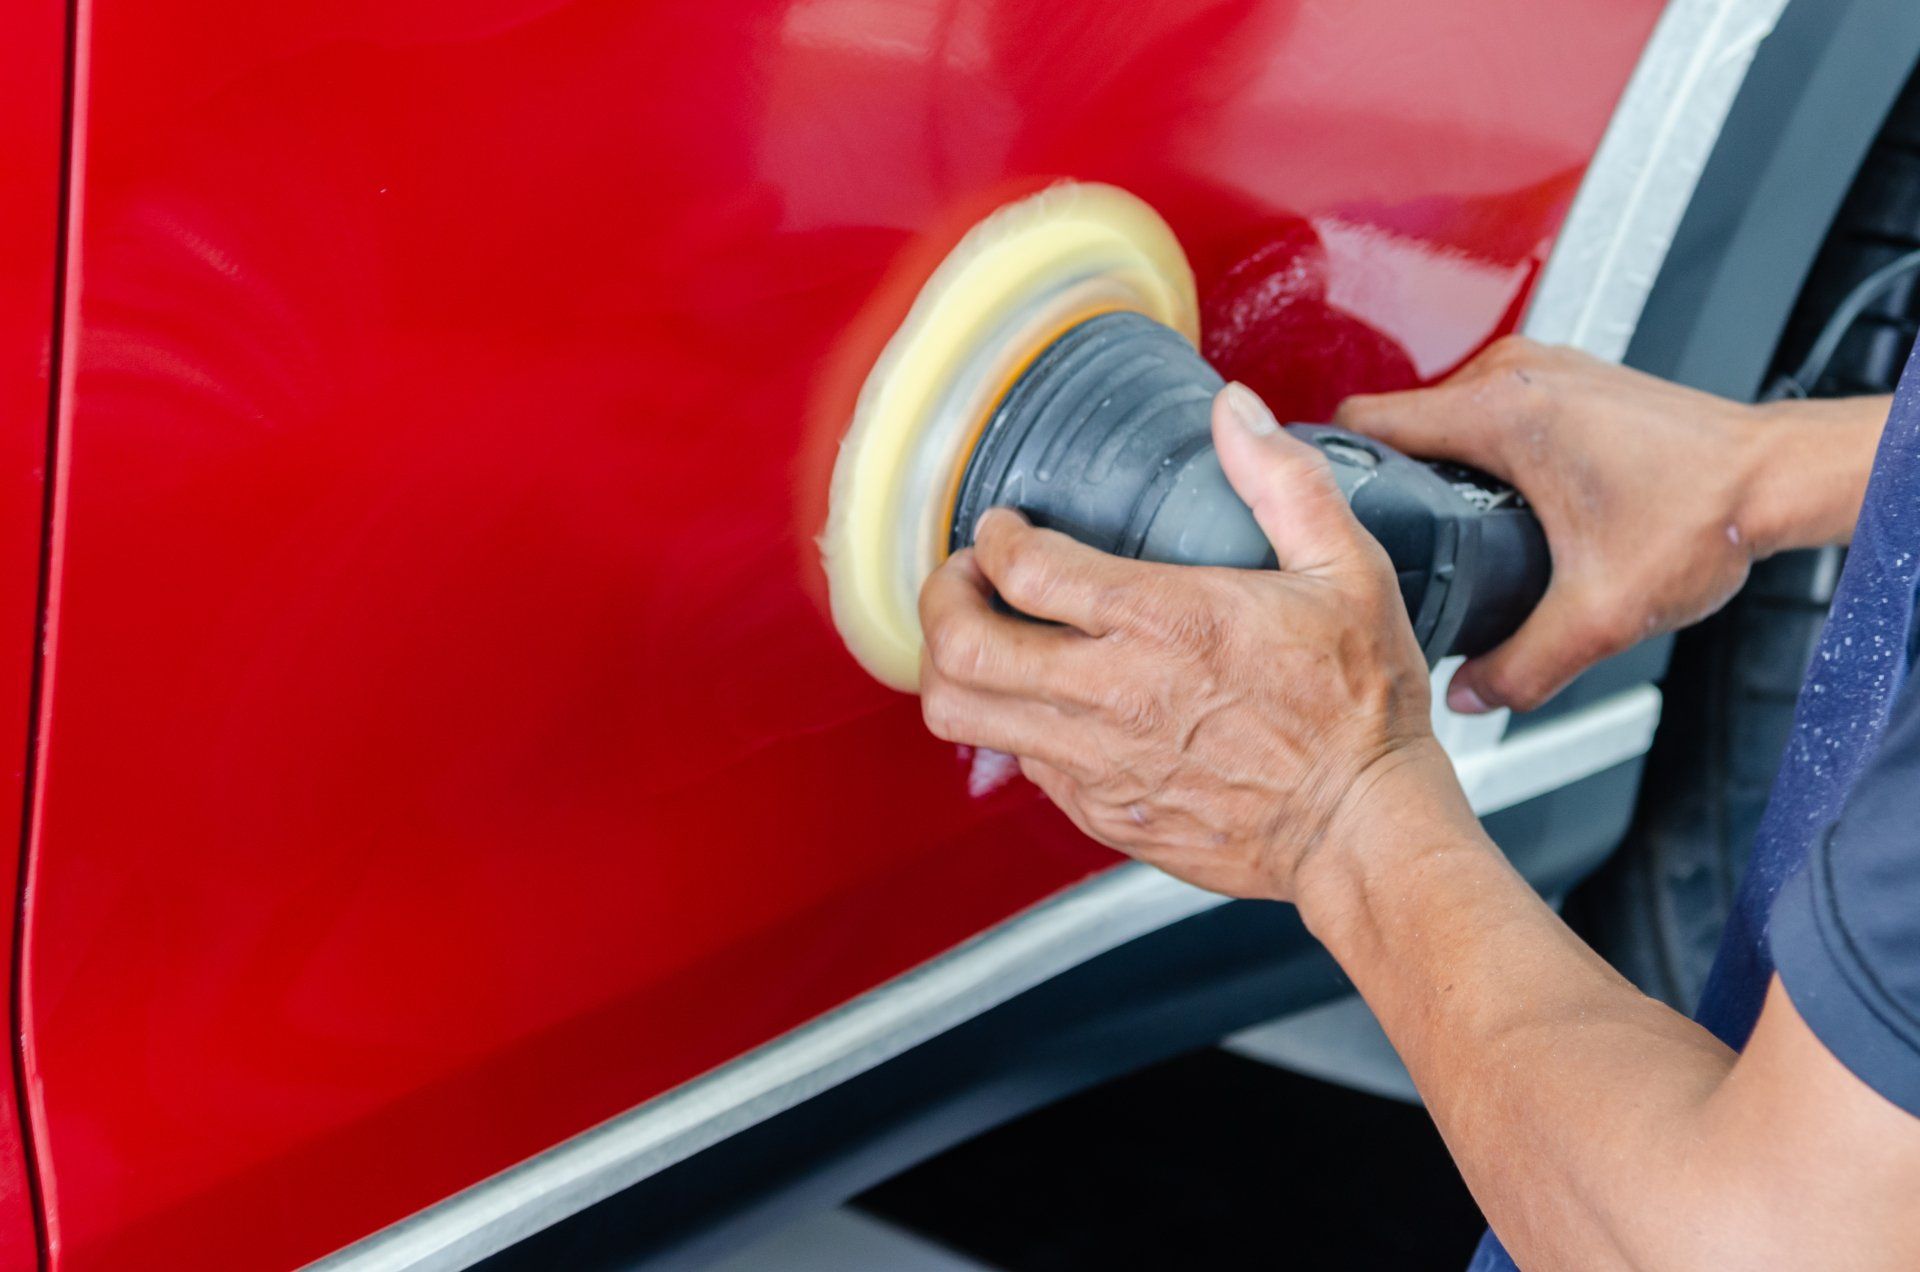
Step 4: Apply the Scratch Removal Compound
Apply a small amount of scratch removal compound or polishing compound to an applicator pad or foam pad. Gently rub the compound onto the scratched area using circular motions. Gradually increase the pressure as needed, focusing on the scratch itself.
Step 5: Regularly Inspect and Wipe Away Excess Compound
Periodically inspect the area to assess the progress of the scratch removal. Wipe away any excess compound using a clean microfiber cloth. Continue the rubbing process until the scratch becomes less visible or disappears completely.
Step 6: Clean and Prepare for Waxing
After the scratch has been successfully removed, clean the area again with rubbing alcohol to remove any residue. This step ensures proper adhesion of the wax or sealant.
Step 7: Apply Wax or Sealant
Using a separate applicator pad or foam pad, apply a layer of car wax or sealant to the treated area. Follow the manufacturer's instructions for application and drying times. The wax or sealant will provide an added layer of protection and enhance the shine of your vehicle.
Step 8: Final Inspection and Touch-Ups
Once the wax or sealant has dried, inspect the treated area one final time. If any scratches are still visible, repeat the process from Step 4. For deep or extensive scratches, it is advisable to seek professional assistance.
Conclusion
Removing scratches from your vehicle is a rewarding process that can be done with a little patience and the right tools. By following this step-by-step guide, you can effectively remove surface-level scratches and improve the appearance of your car. Remember to always assess the depth of the scratch and seek professional help for more severe damage. With proper care and maintenance, your vehicle can maintain its pristine look for years to come.